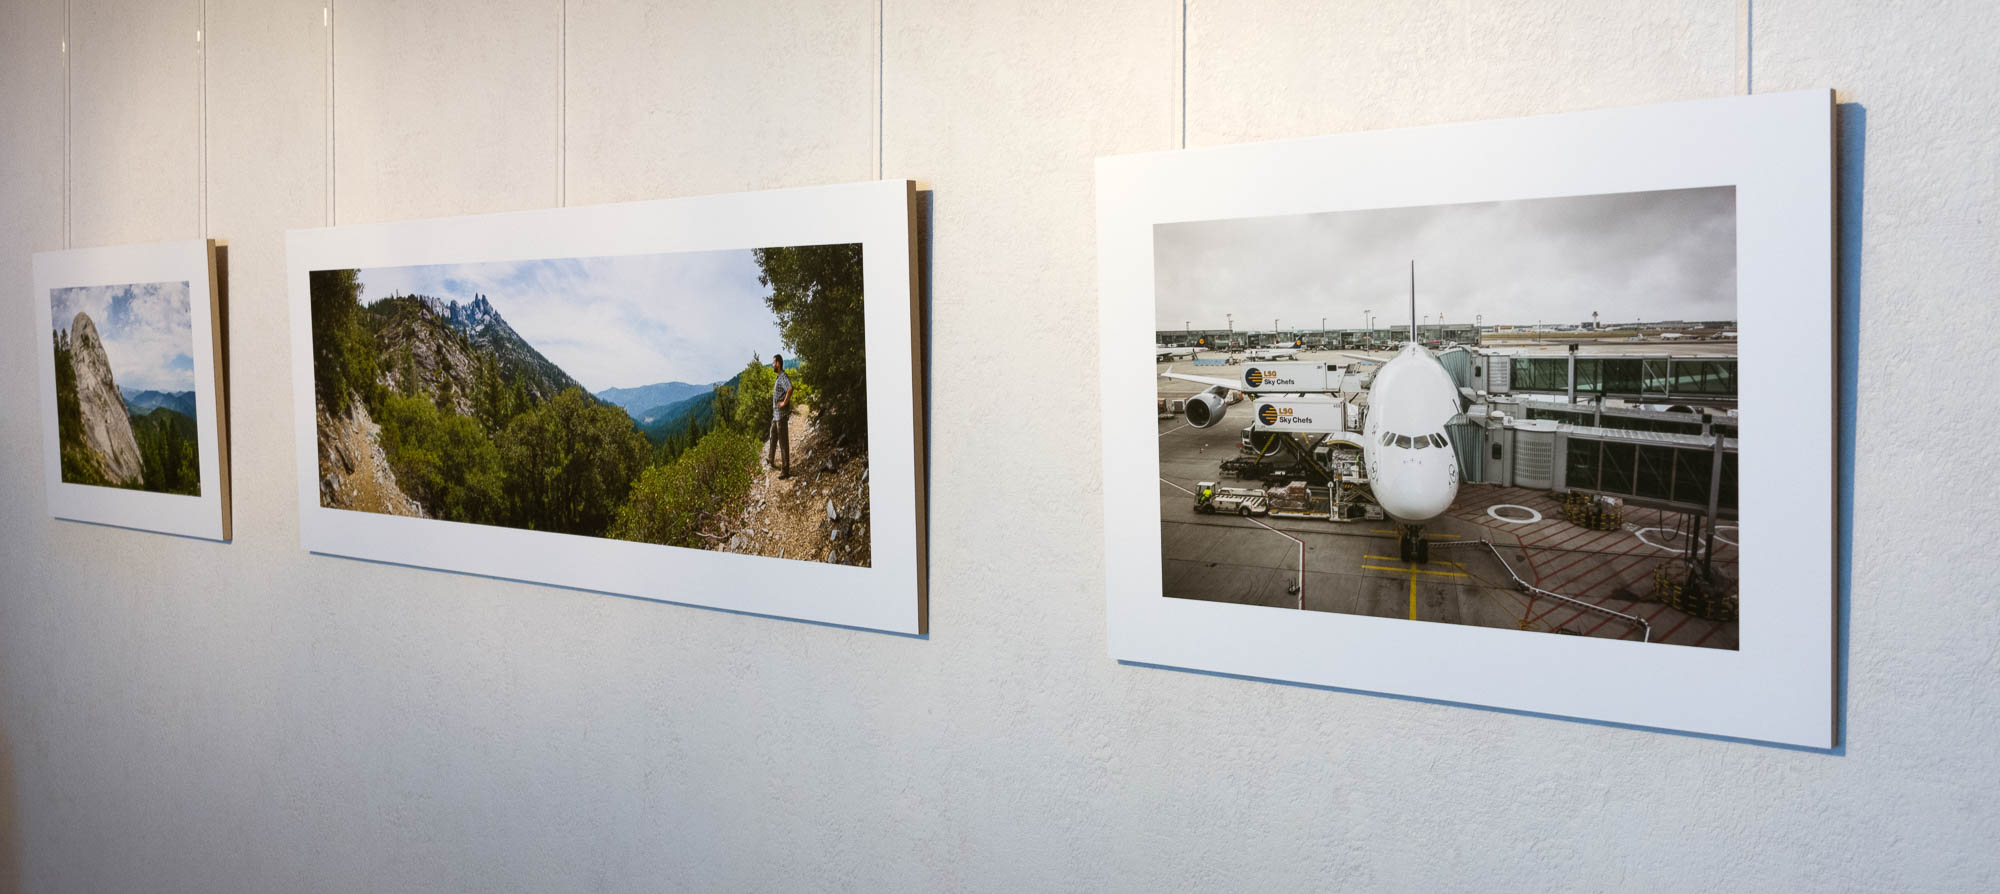
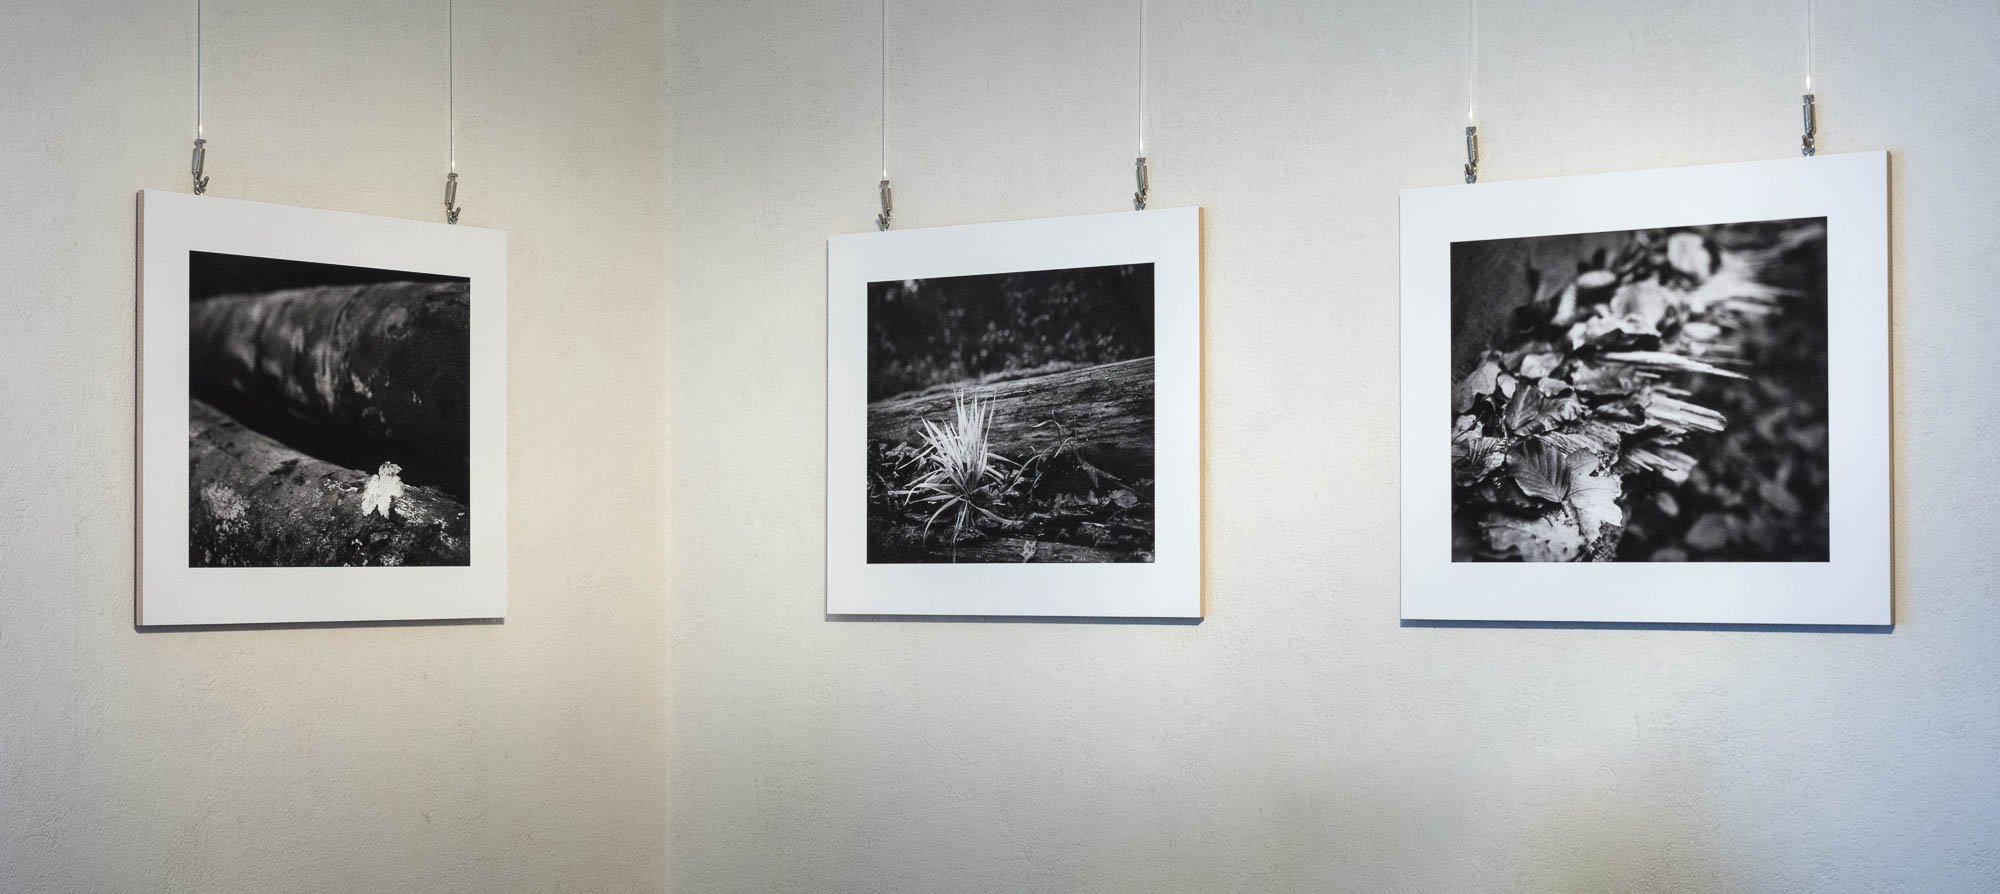
Kurzfassung: Ausgedruckte Photos werden mit Leim auf Holzplatten geklebt und können bliebig aufgehängt oder aufgestellt werden. Kein Glas, nur mattes Papier – sieht einfach klasse aus.
Executive summary: Printed pictures are glued on pieces of wood and can hang or stand anywhere. No glas, only matt paper – gorgeous to look at.
Preiswert: abgesehen vom Bild nur wenige Euro
Cheap: aside from the print nearly no cost
Einfach: kaum Werkzeug notwendig
Easy: nearly no tools necessary
Schnell: abgesehen von der Trocknung weniger als eine halbe Stunde Arbeit
Fast: less than half an hour (plus drying time)
Ansprechend: sieht einfach toll aus
Appealing: it just looks professional
Einziger Nachteil: Da die Präsentation ohne Glas erfolgt, ist die Haltbarkeit (je nach Ausdruck) evtl. auf einige Jahre begrenzt – aber dann kann einfach ein neues gemacht werden.
Only disadvantage: As there is no protective glas, the picture might fade after a few years – but it's so simple to make a new one.
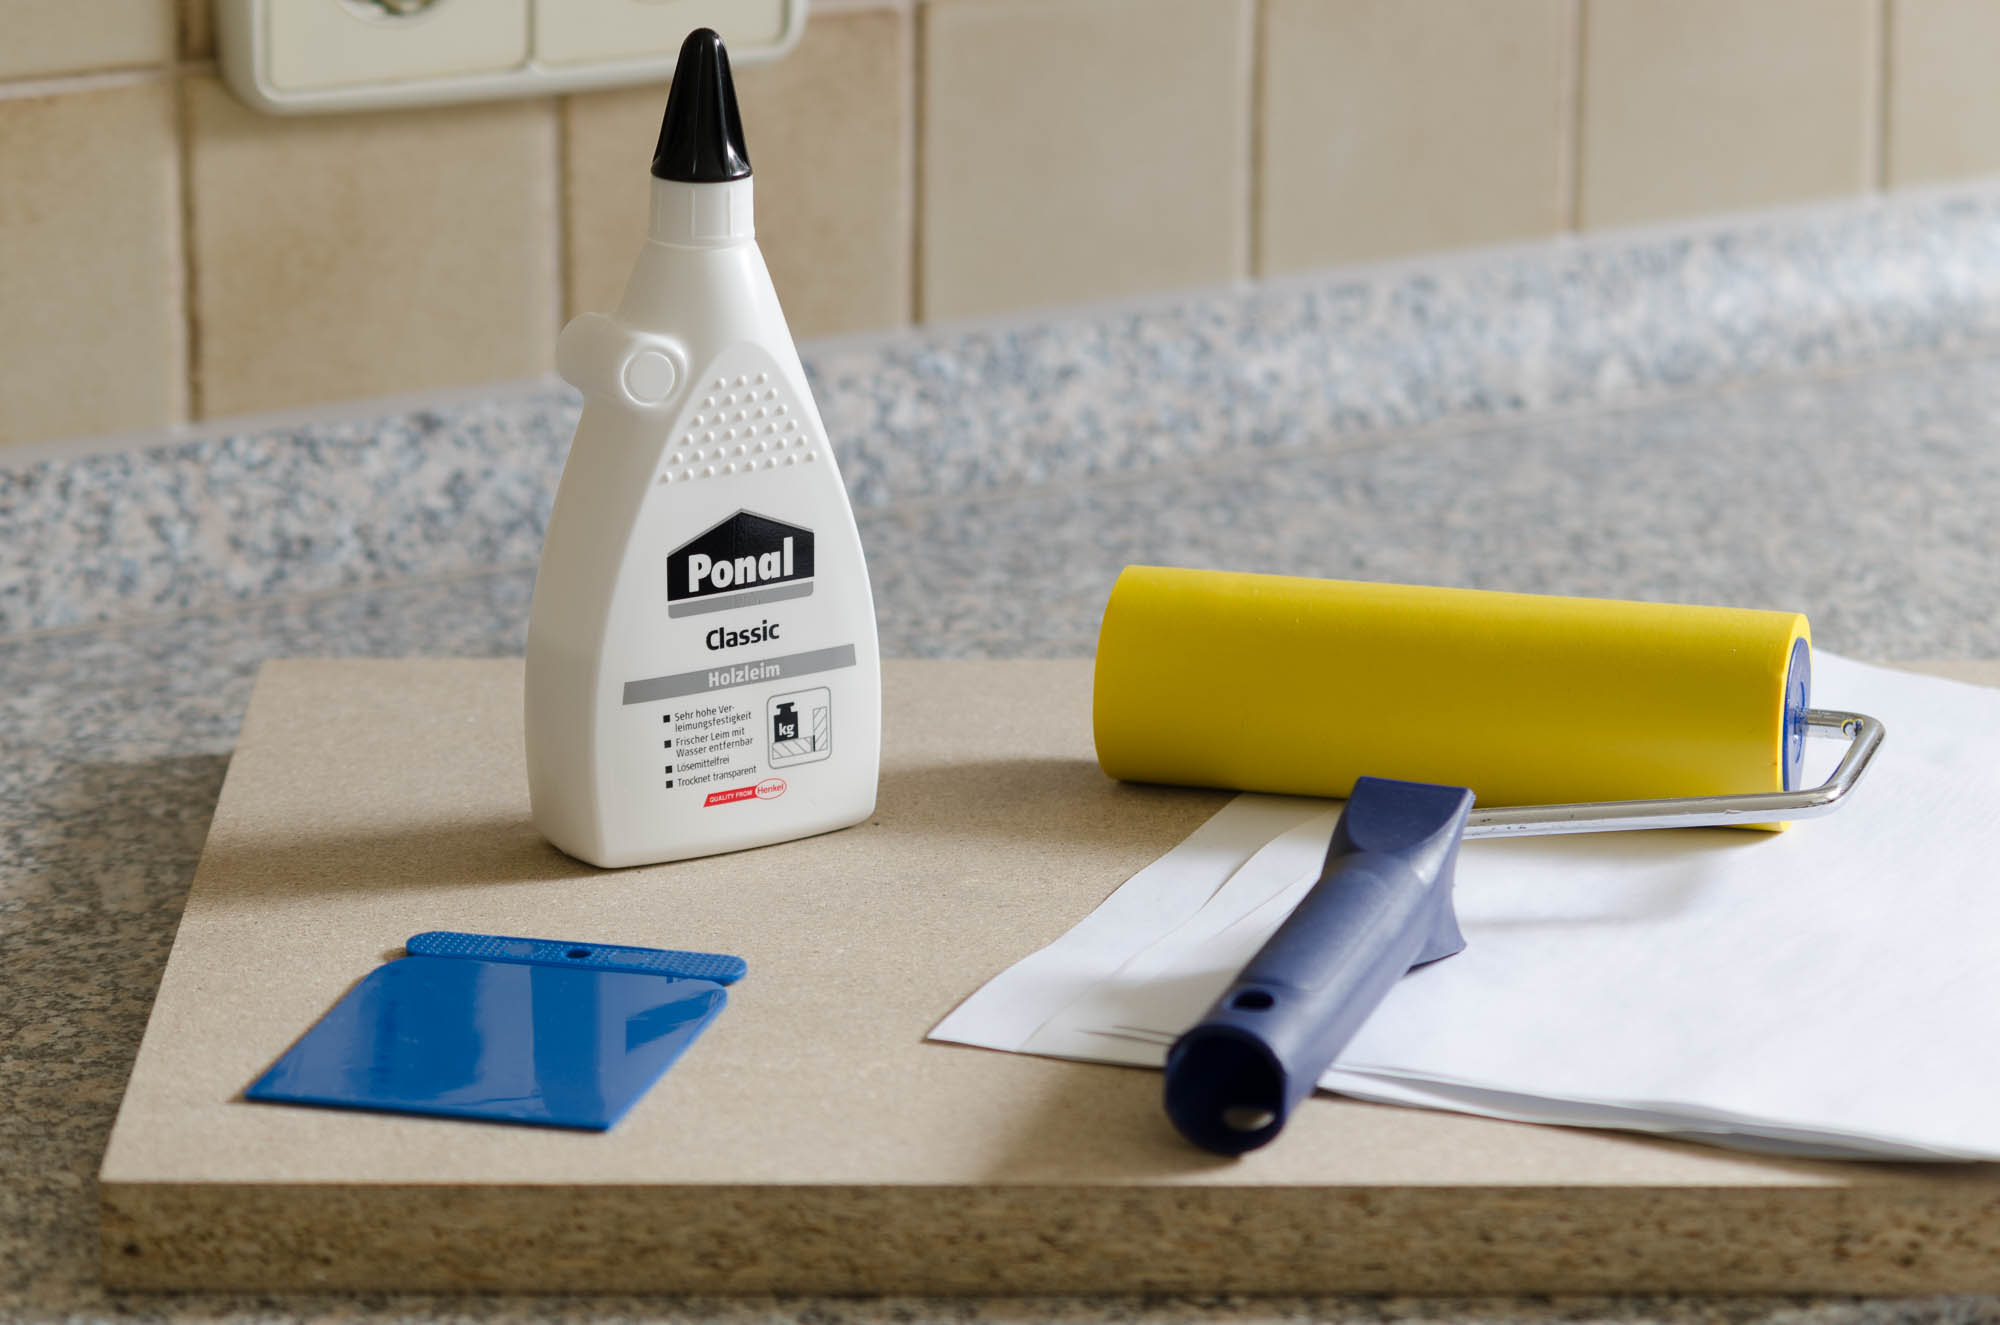
Holzleim (z.B. Ponal Classic), am besten keinen »schnelltrocknenden« Leim
Wood glue (e.g. Ponal Classic), preferably not any fast drying stuff
Irgendwas zum gleichmäßigen Verteilen des Leims, z.B. einen Plastikspatel
Something to spread the wood glue
Andruckrolle (aus dem Tapetenbedarf)
Pressure roller (e.g. for wallpapers)
Einige Blätter Papier (zum Abdecken des Ausdrucks)
A few pieces of paper (to cover the print)
Brett zum Pressen, mindestens so groß wie das Bild
Board to press everything, at least as big as the print
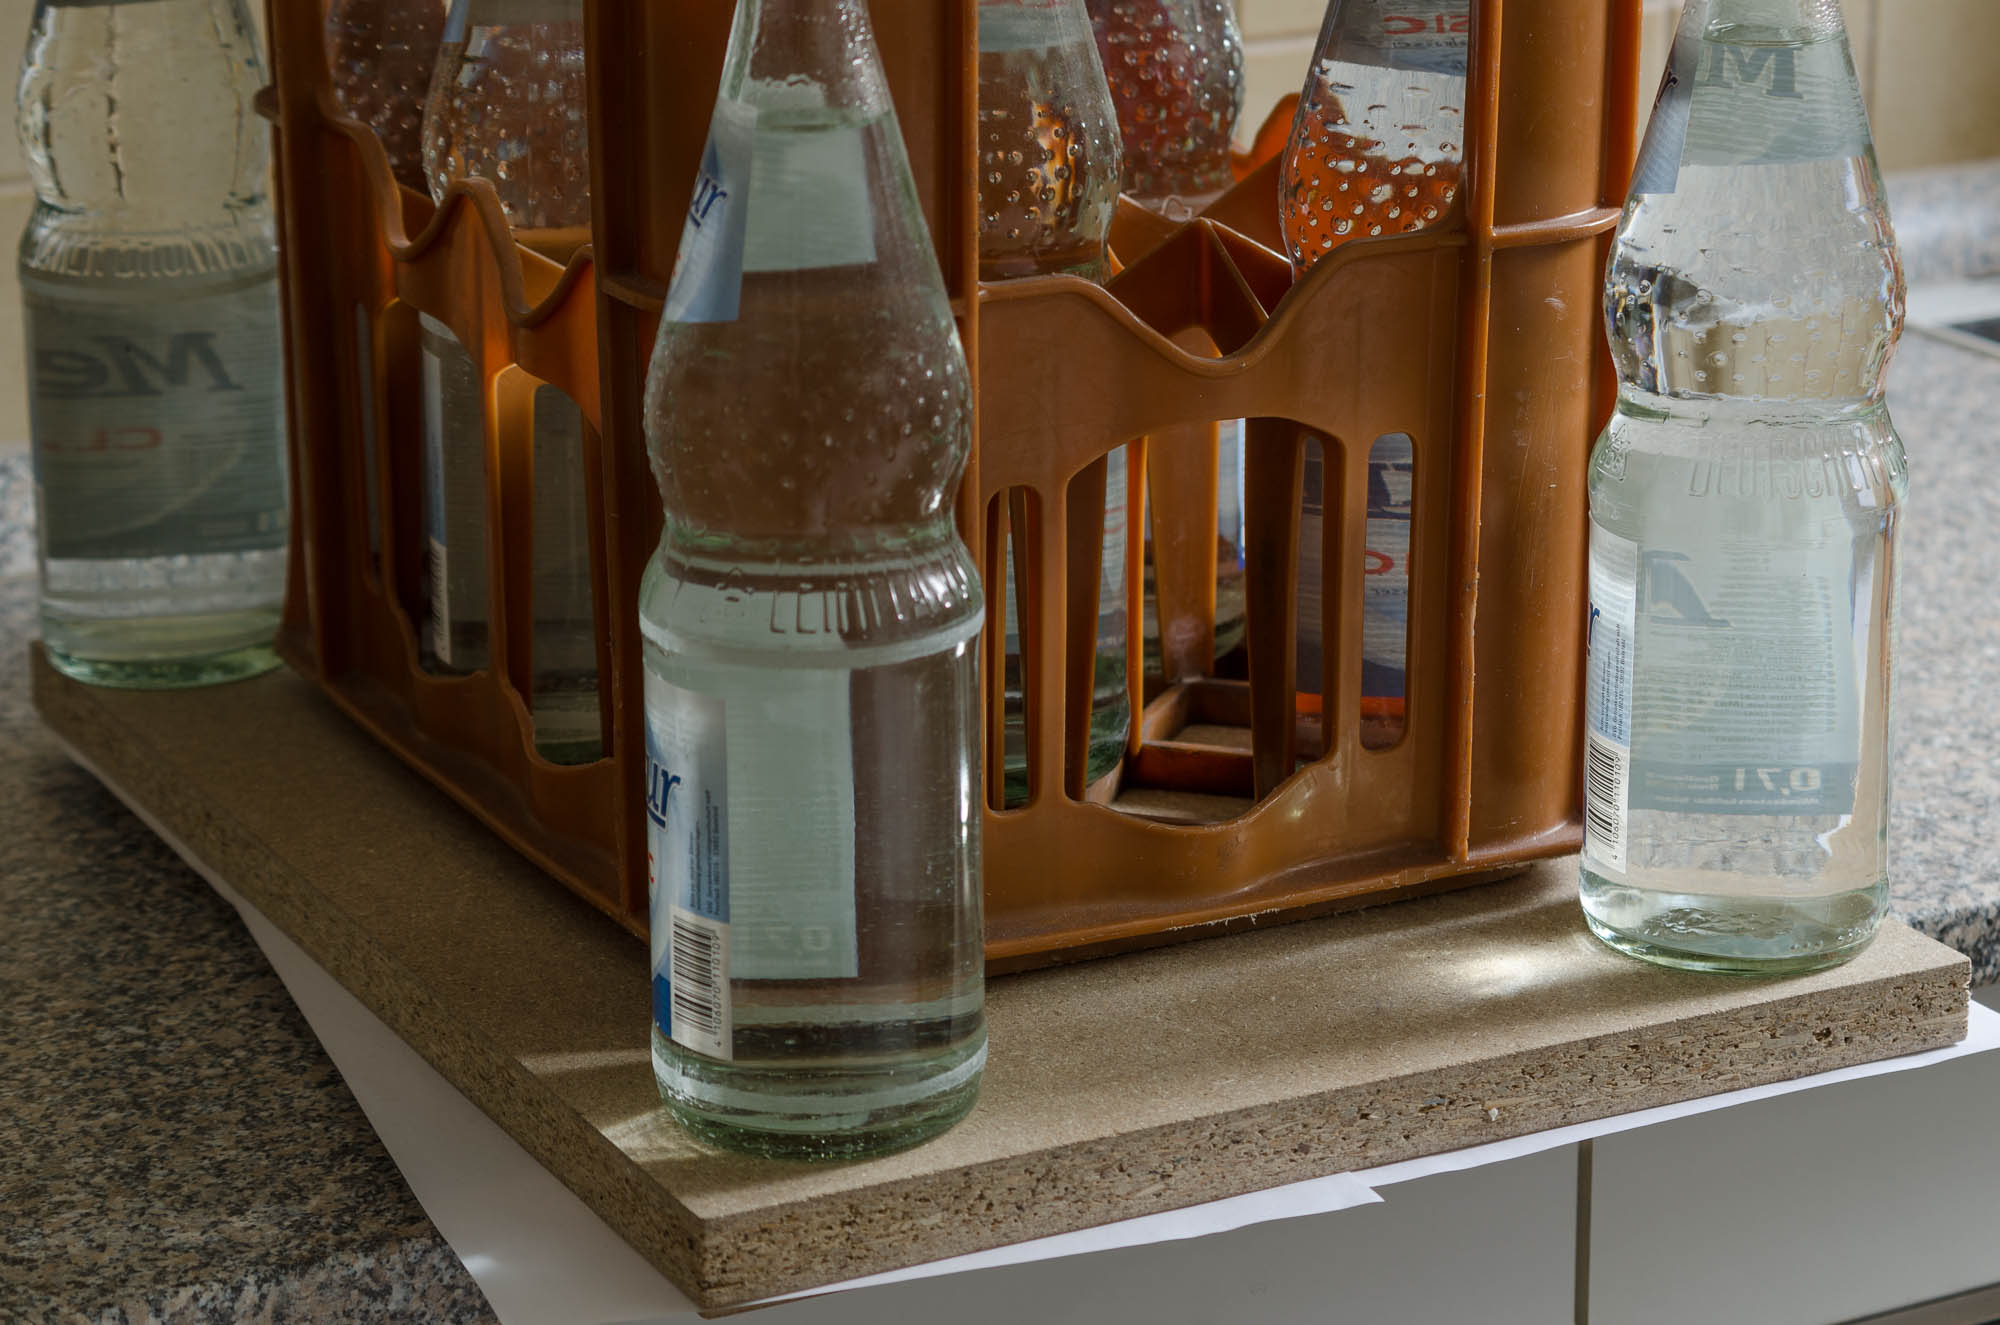
Gewichte (für das Pressen), z.B. volle Getränkeflaschen Die hier gezeigten Bilder sind auf mattem 230 g/qm-Papier ausgedruckt (genauer: Tecco PM230). Die Schwere des Papiers macht das Leimen einfacher, und die matte Oberfläche sieht genial aus, da aus keiner Blickrichtung Spiegelungen auftreten. Da es bei dieser Methode kein Passepartout gibt, welches das Bild einrahmt, wird das Bild mit dem Rand ausgedruckt. Je nach Wunsch ist sowohl ein einfach weißer Rand (geringster Aufwand) oder auch ein farbiger, z.B. schwarzer, Rand möglich (größerer Aufwand wegen des notwendigen randlosen Drucks oder Beschneidens). Zum Aufleimen wird eine MDF-Platte verwendet. Zum Hängen hat sich eine Stärke von 10 mm bewährt, zum Hinstellen eine Stärke von 22 mm (das Bild steht dann von alleine). Im Baumarkt sind die Platten millimetergenau zugeschnitten erhältlich. Vor der weiteren Verarbeitung empfiehlt es sich, die Kanten (die ja später noch sichtbar sind) mit Schleifpapier zu bearbeiten, um diesen einen gleichmäßigen Farbton zu geben. Das Holz sollte genügend Zeit (mindestens mehrere Stunden) haben, sich zu akklimatisieren, um spätere Spannungen zu minimieren. Die einfachste Möglichkeit: es wird ein Aufhänger auf der Rückseite angebracht. Wenn ein Nagel in der Wand vorhanden ist, die beste Möglichkeit. Wenn ein Galeriesystem (mit einer Studio-Bilderschiene an der Decke und daran herunterhängenden Haken – sehr zu empfehlen) eingesetzt wird, können auch zwei Nägel (leicht schräg nach unten zeigenend) angebracht werden. Jeweils ein Haken kann darin eingehängt werden und verschwindet so komplett hinter dem Bild. Die aufgehängten Bilder haben eine leichte Neigung, was sehr gut aussieht. Alternativ können auch in die obere Kante Ösen eingeschraubt werden. Hierbei ist ein Einspannen der MDF-Platte und ein Vorbohren zu empfehlen, da die Platte ansonsten recht leicht splittert.
Weights (for pressing), e.g. full bottles
Ausdruck des Bildes – The Print
All pictures shown here are printed on matt-coated 230 g/sm paper (exactly: Tecco PM230). The weight of the paper makes the glueing easier, and the matt-coated finish does not produce any reflections from any perspective.
The picture should be print with the desired (white) border around it. There is no additional framing. The printed border can either be white (the easiest way) or in any color, e.g. a black frame around the pictue (the most complex way because of the necessary borderless print or the cutting)
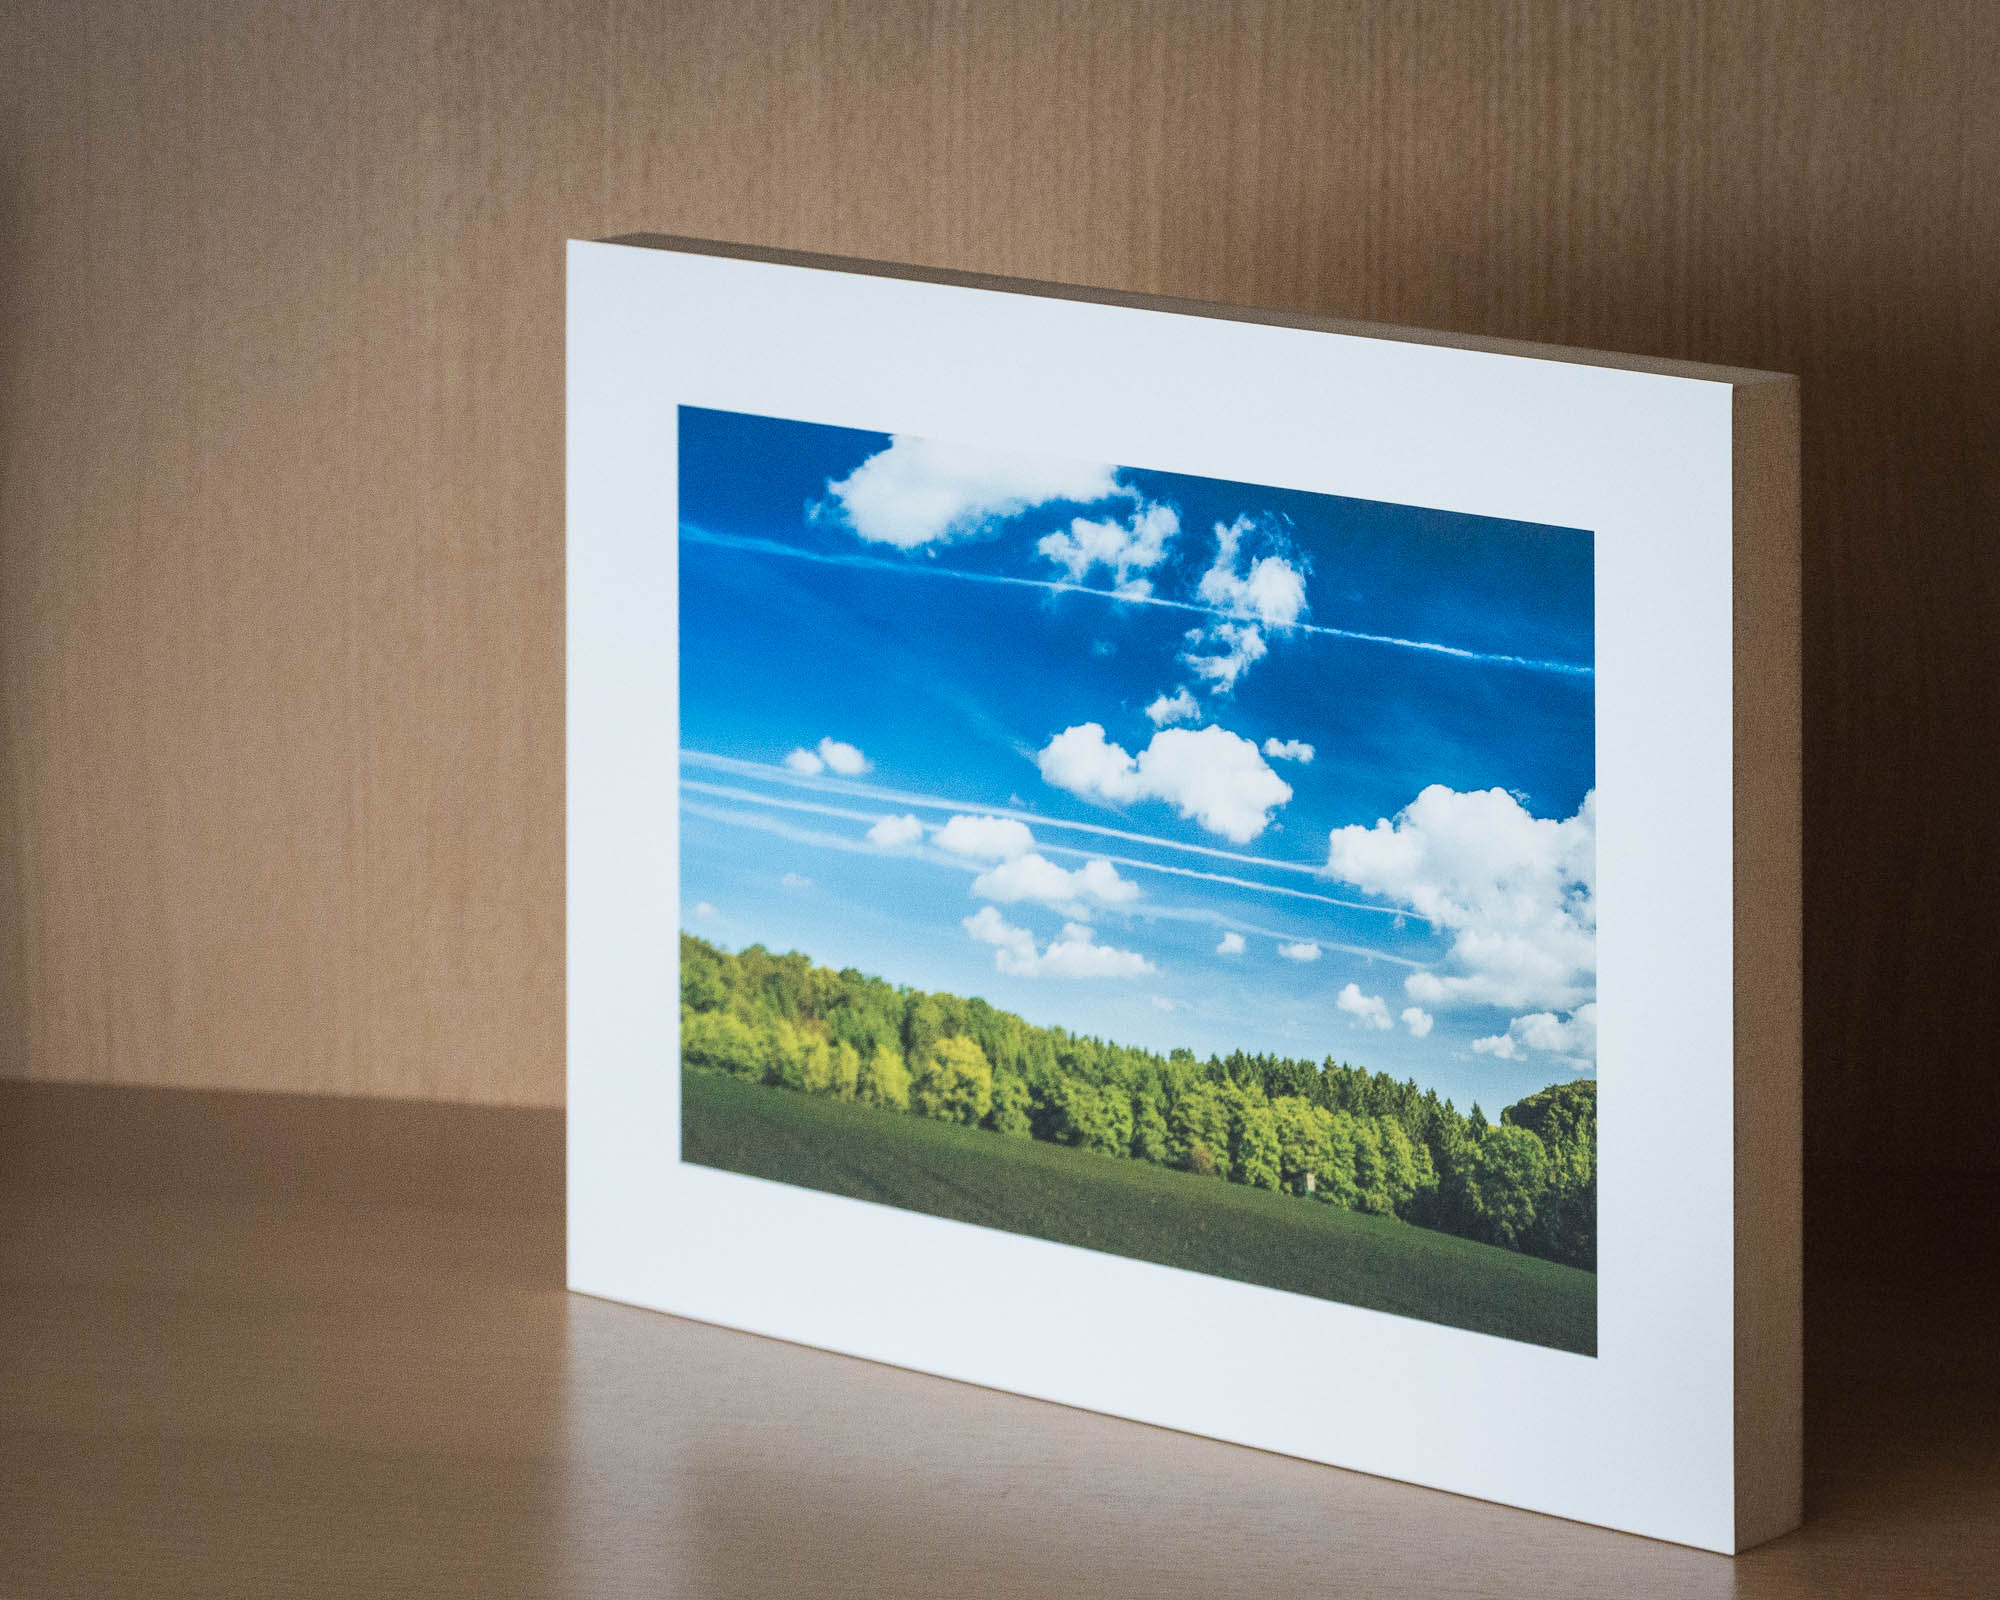
MDF-Platte – MDF board
The print is being glued onto a MDF board. For hanging, a thickness of 10 mm usually works, for standing a thickness of 22 mm allows it stand on its own.
In most hardware stores you get the board cut to your dimensions. It is advisiable to use sandpaper on the edges (as those are still visible later) to get an even tone on them.
The wood should have enought time (at least a few hours) to acclimatize itself.
Ausführung – Execution
The hanger (see excursus below) should be fixed on the MDF board first.
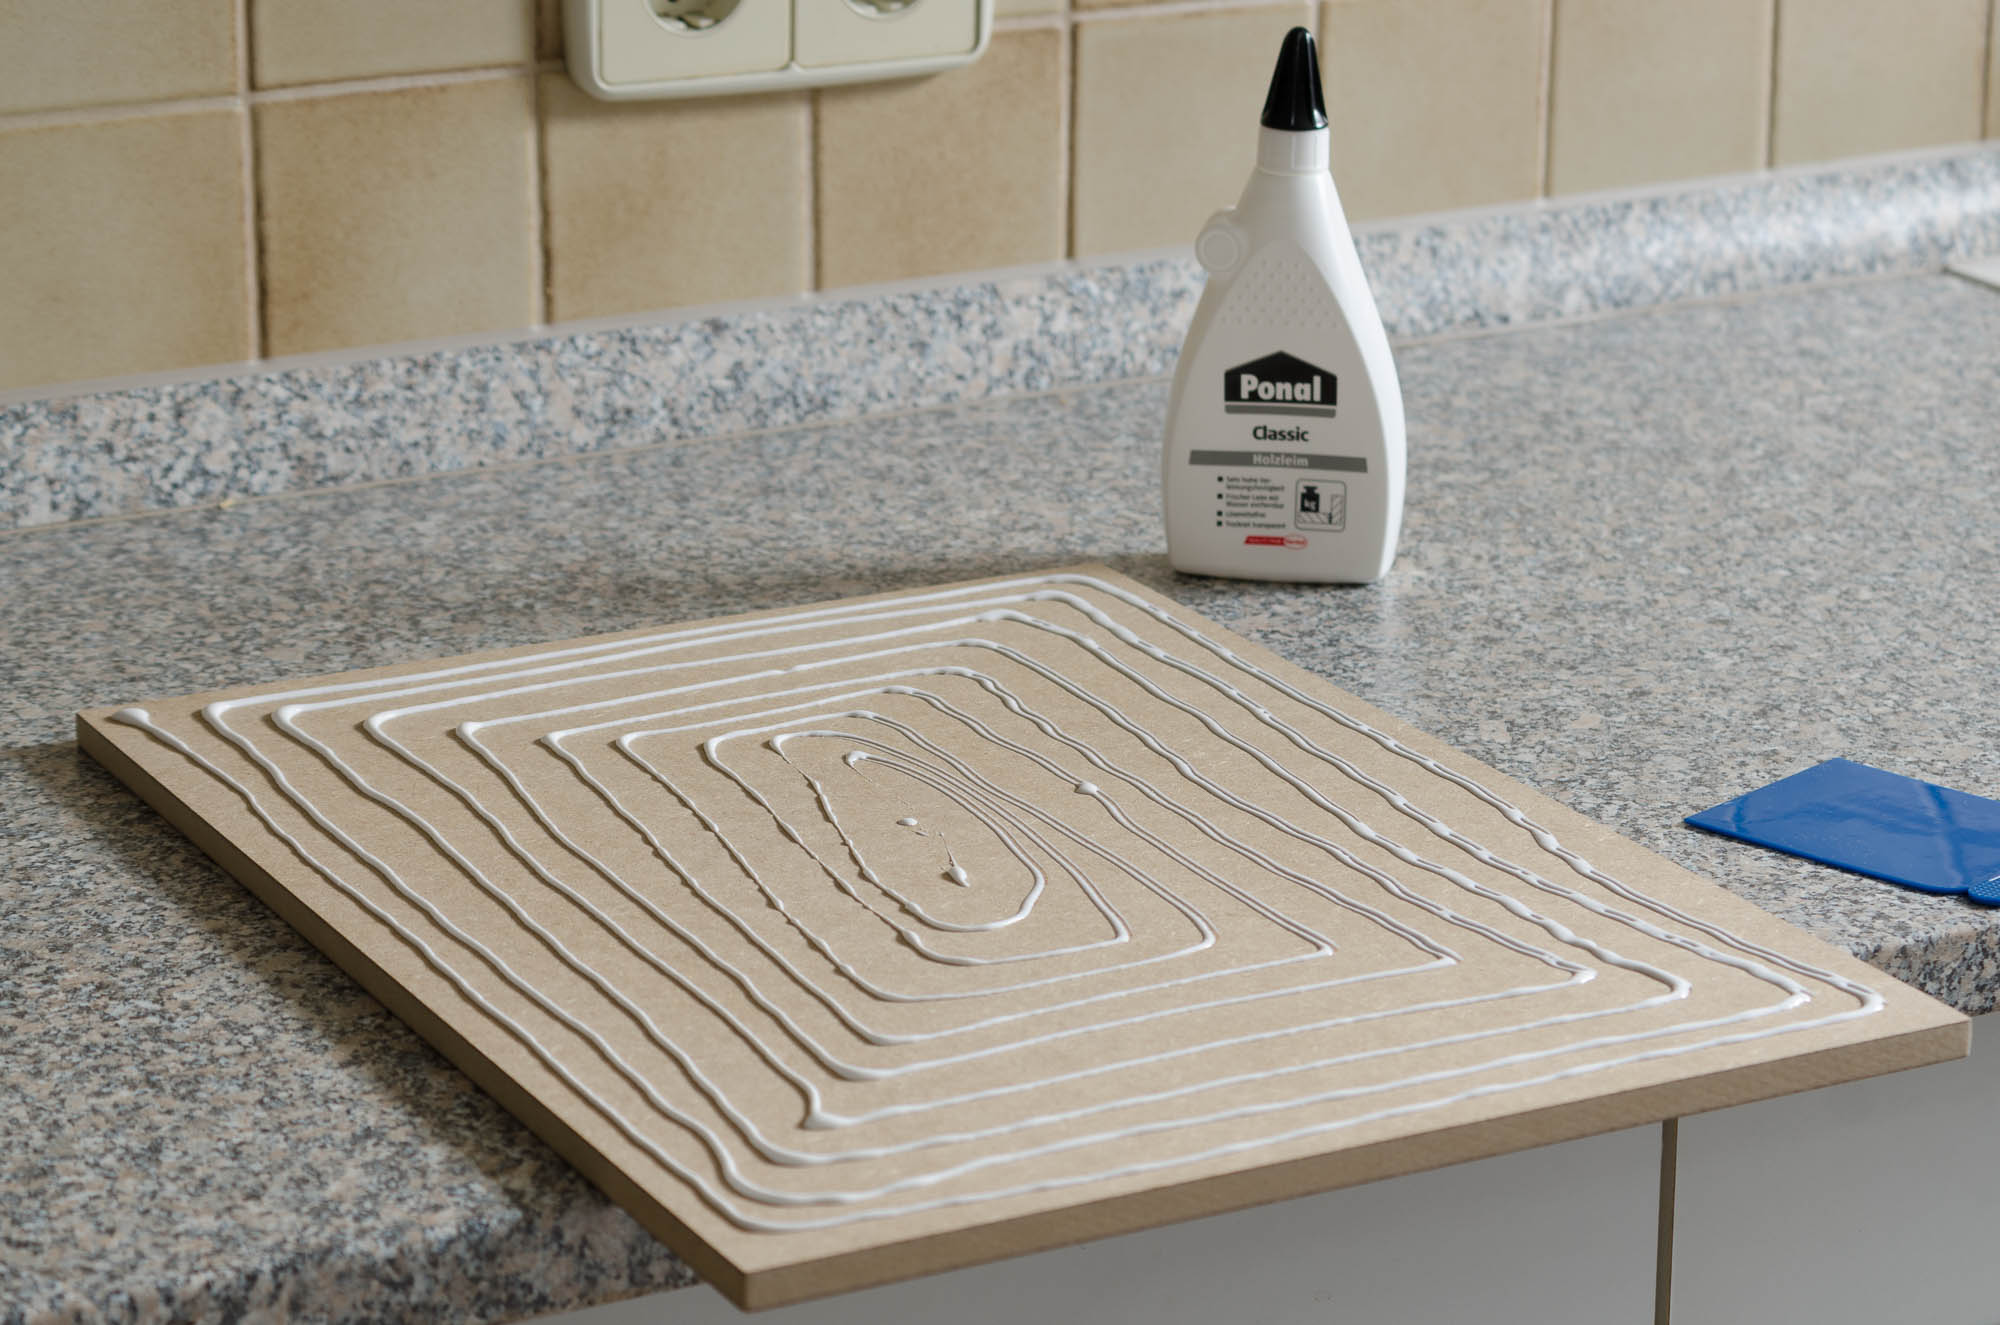
Apply a satisfying amount a wood glue to the font side of the MDF board. Lines of glue with 1 cm gaps usually work.
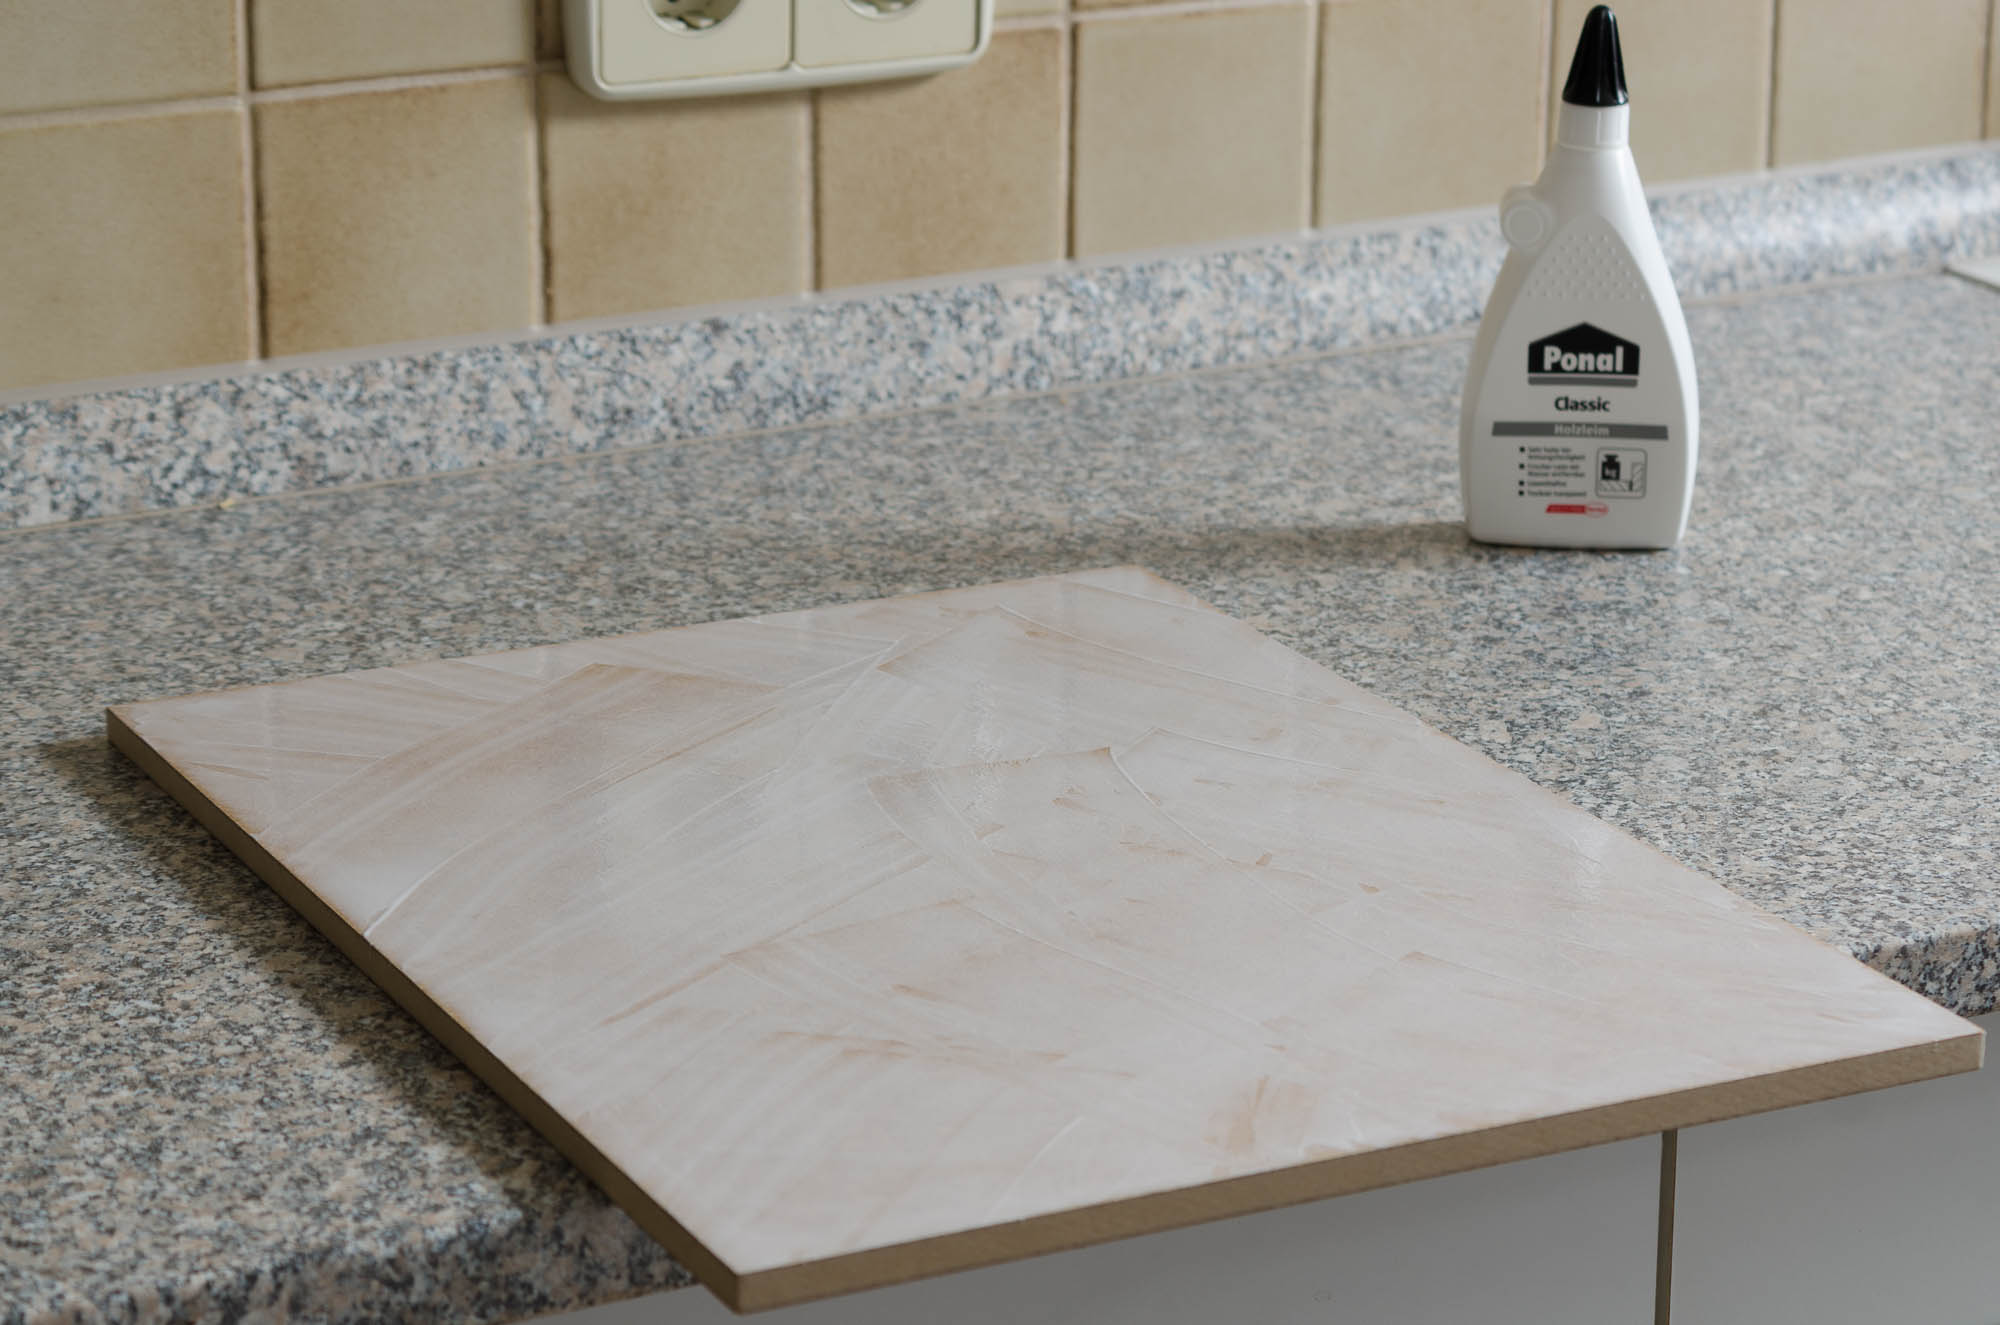
Distribute the wood glue on the board. The whole front side of the board has to be slightly covered in glue.
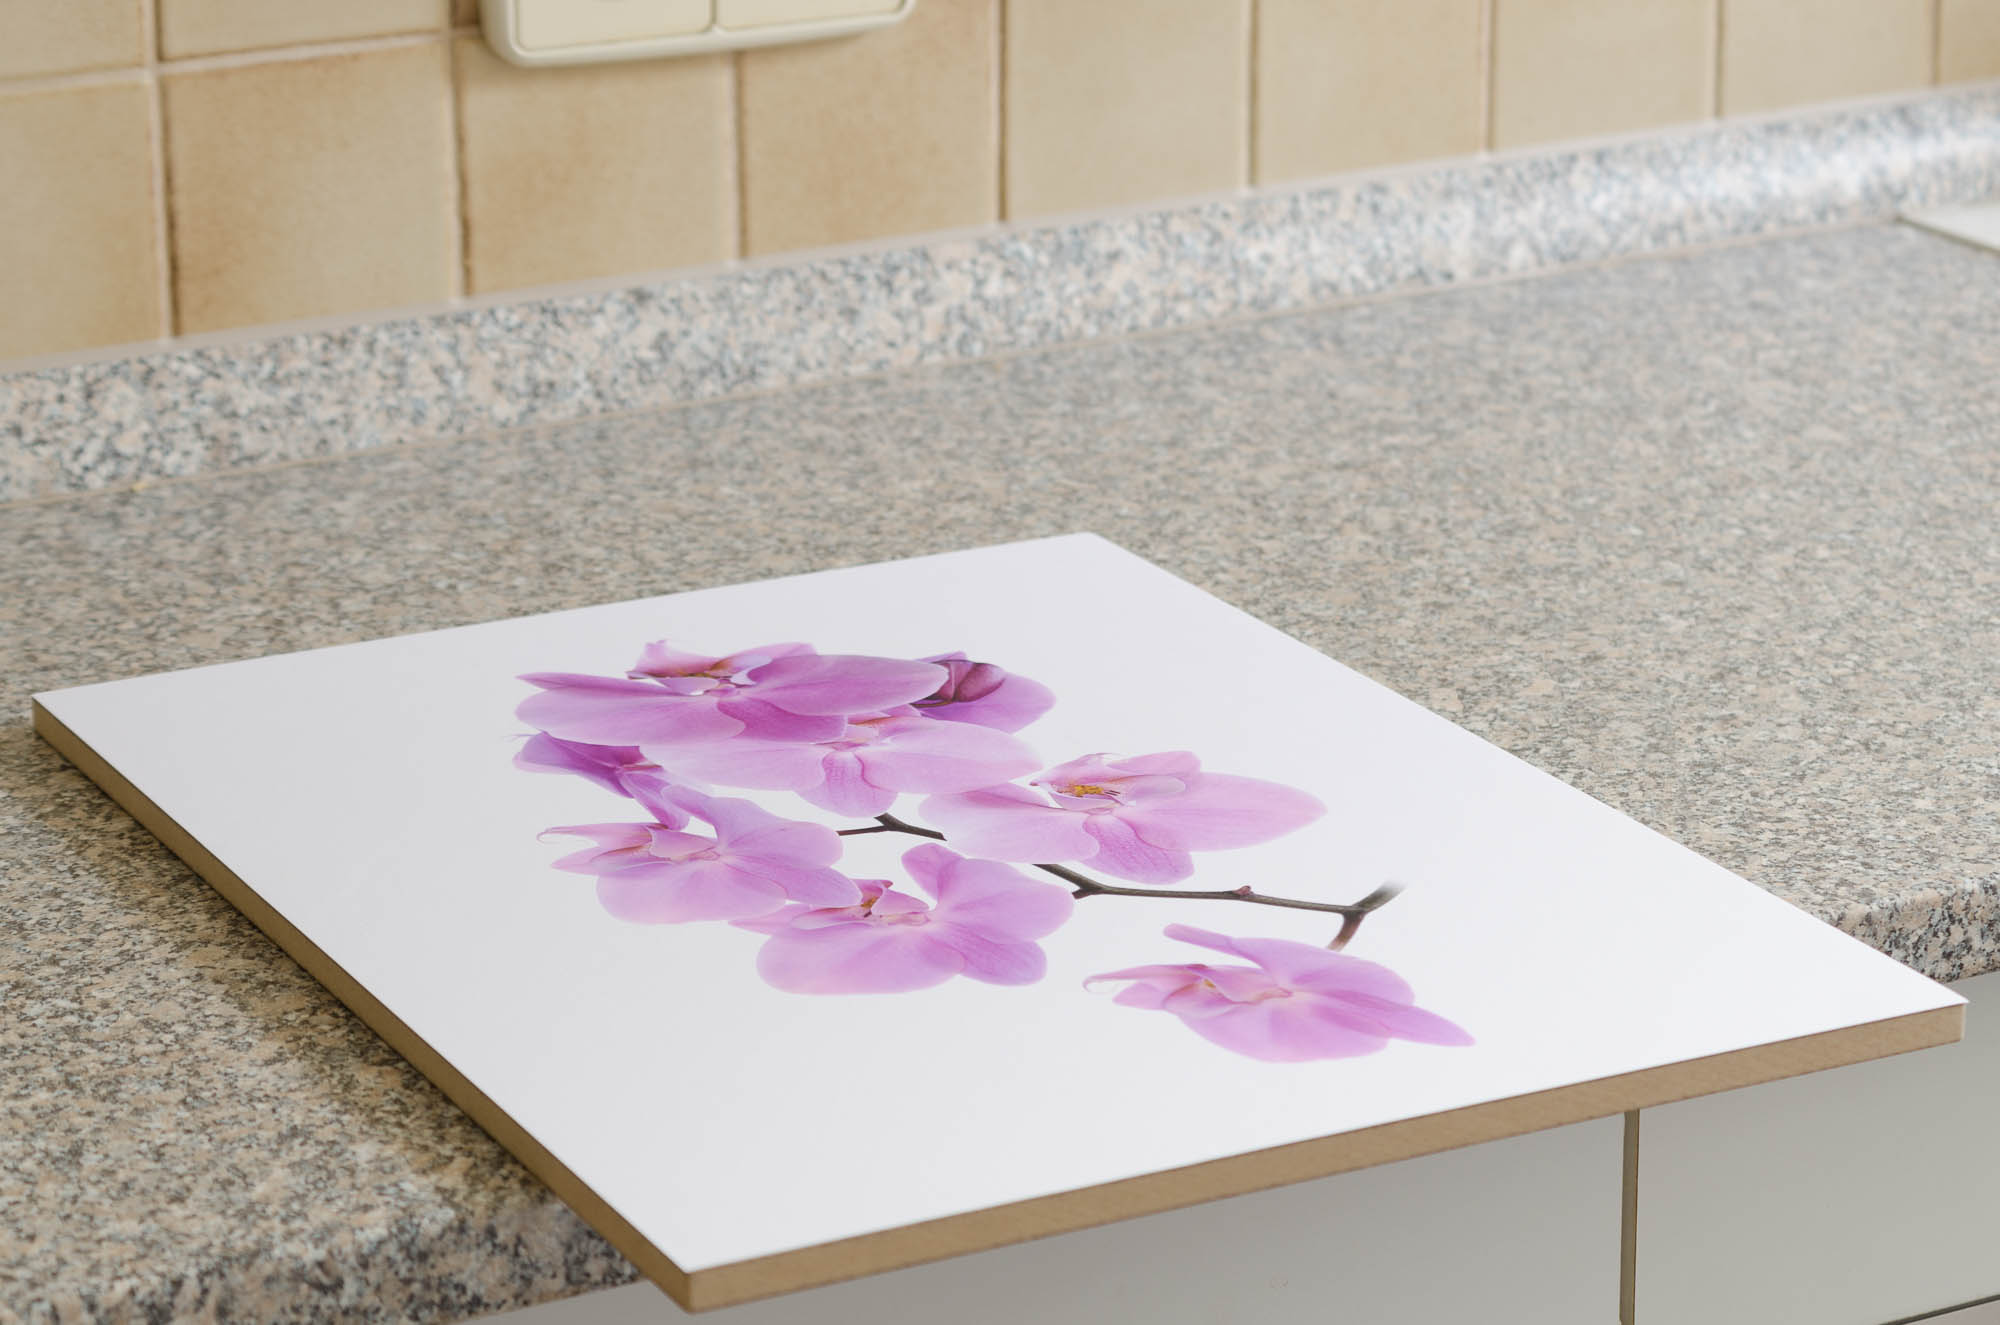
Place the print on the glue. Before it is pressed down, it is usually possible to do small corrections to the placement, but a correct placement on first try is the best.
Press down the print with the pressure roller. Take care to roll any air bubbles out and do not take too long. If it takes too long, the paper of the print might start to crample.
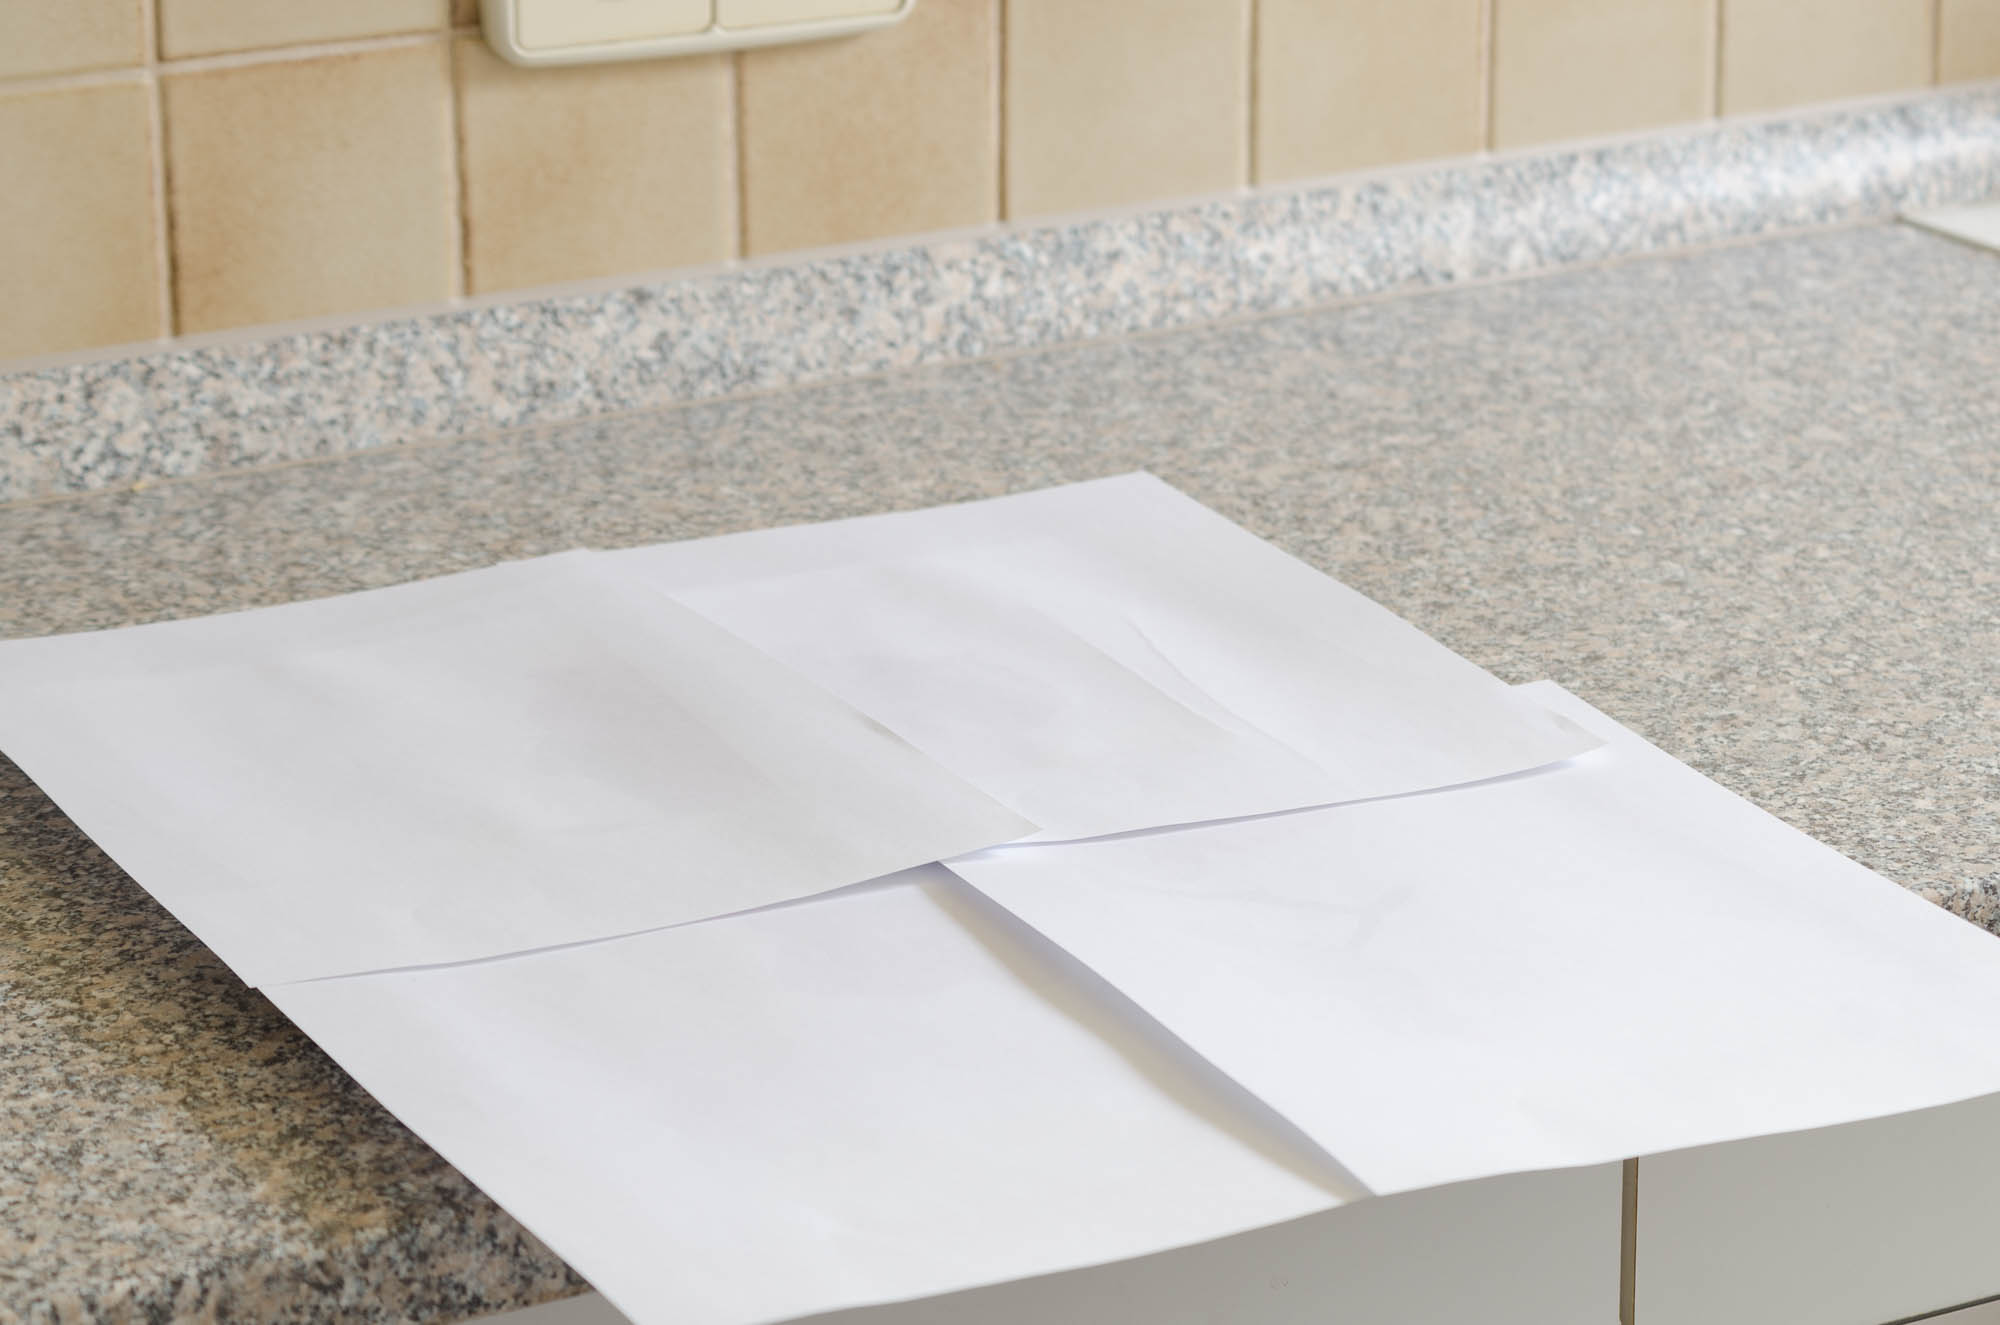
To protect the print during the following pressing, it can be protected by placing one layer of paper on it.
Place the board on the protected print and put the weight on the board.
Dry (long enough). Small pictures (up to A4) a few hours, bigger pictures at least »over night«.
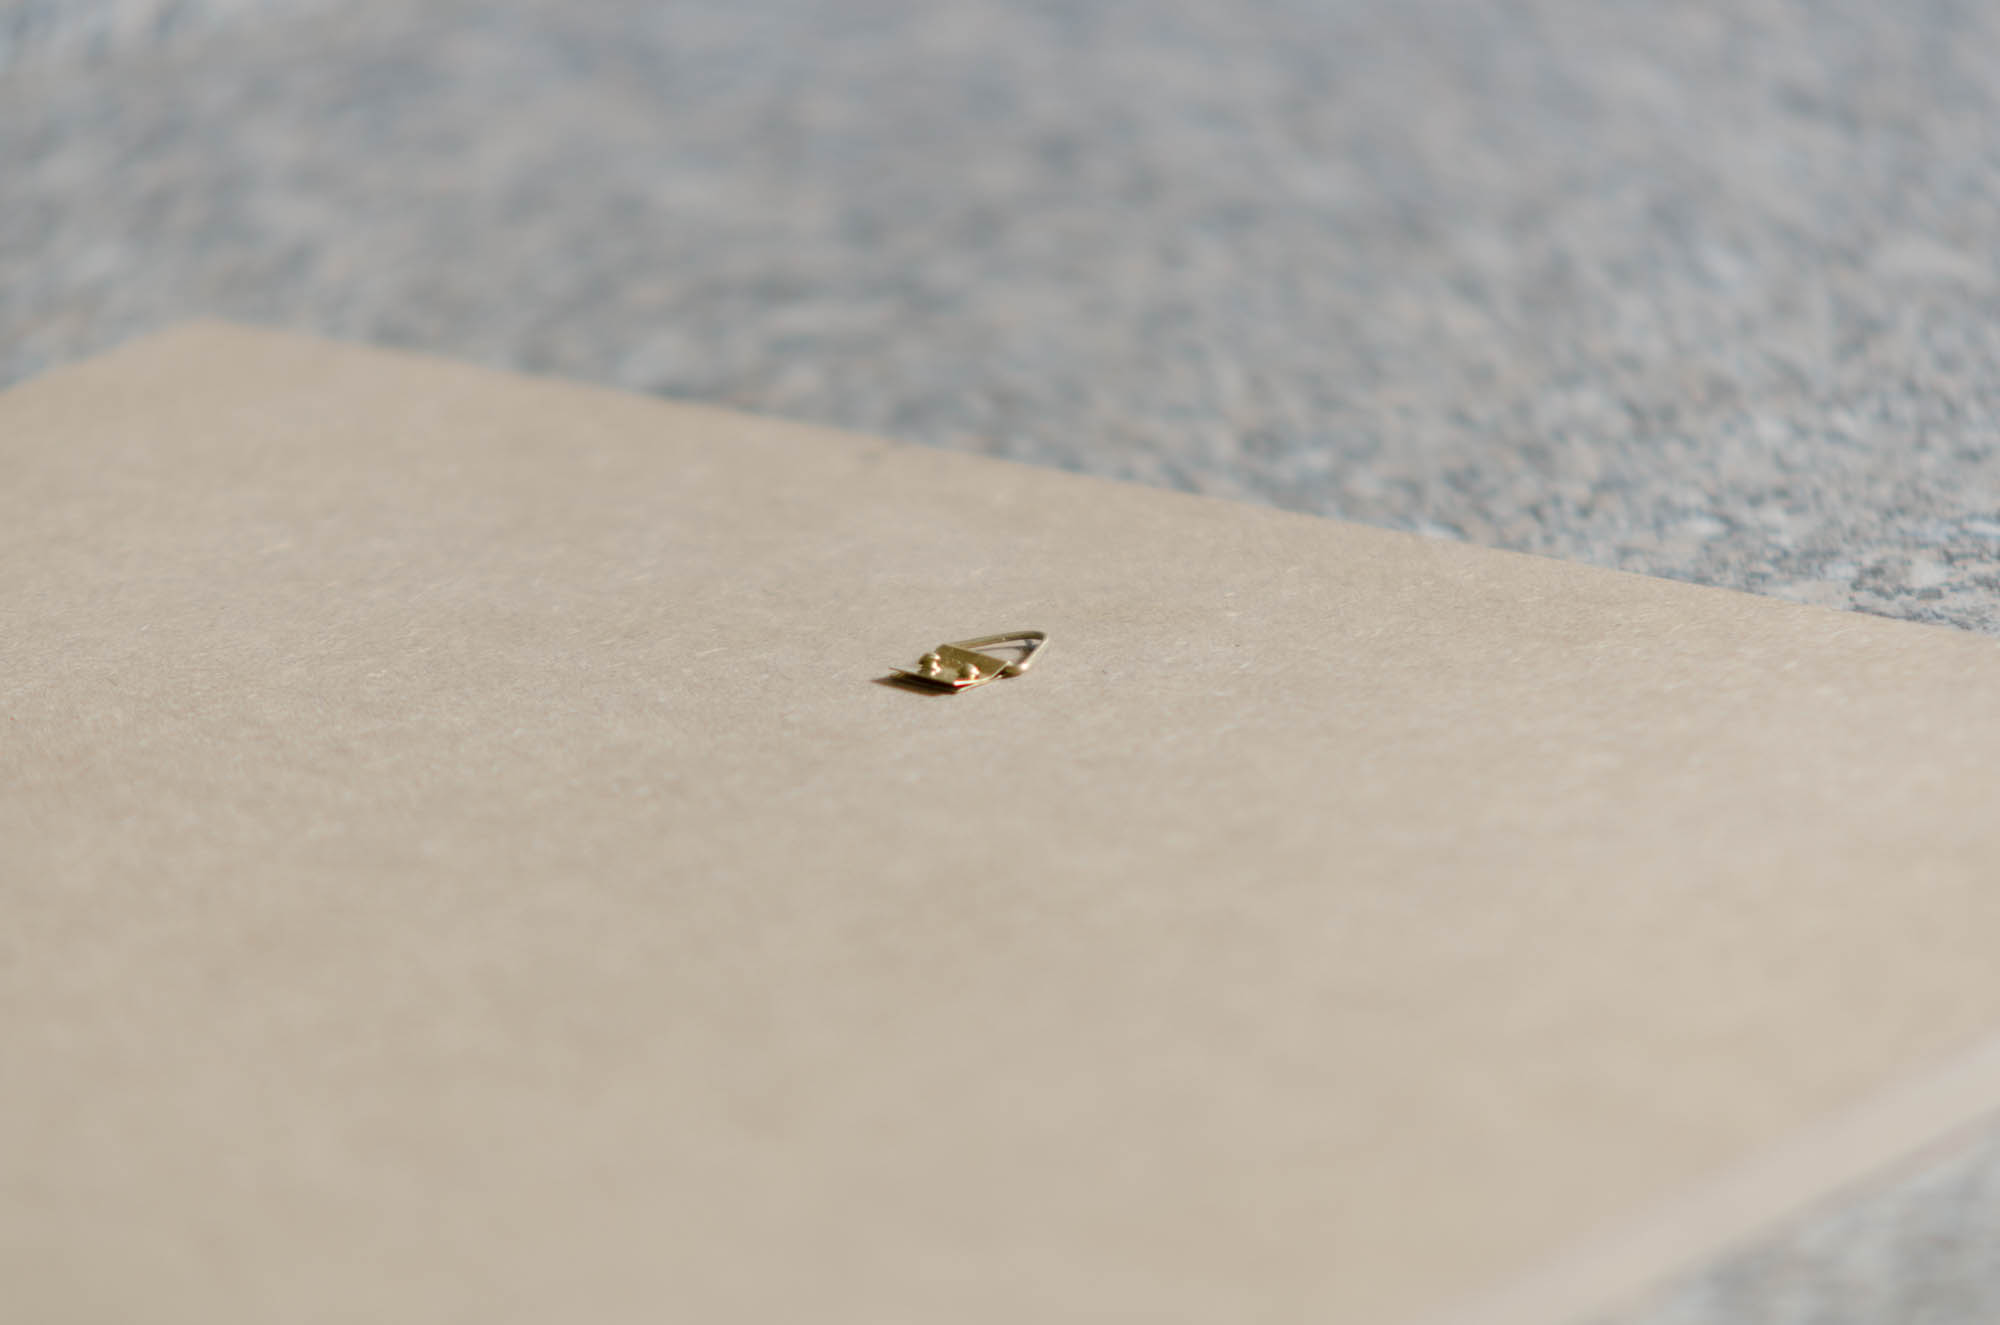
Exkurs: Aufhänger – Excursus: Hanger or Hook
The easiest method: just put a hanger on the back side. If you already have nail in the wall, the best way.
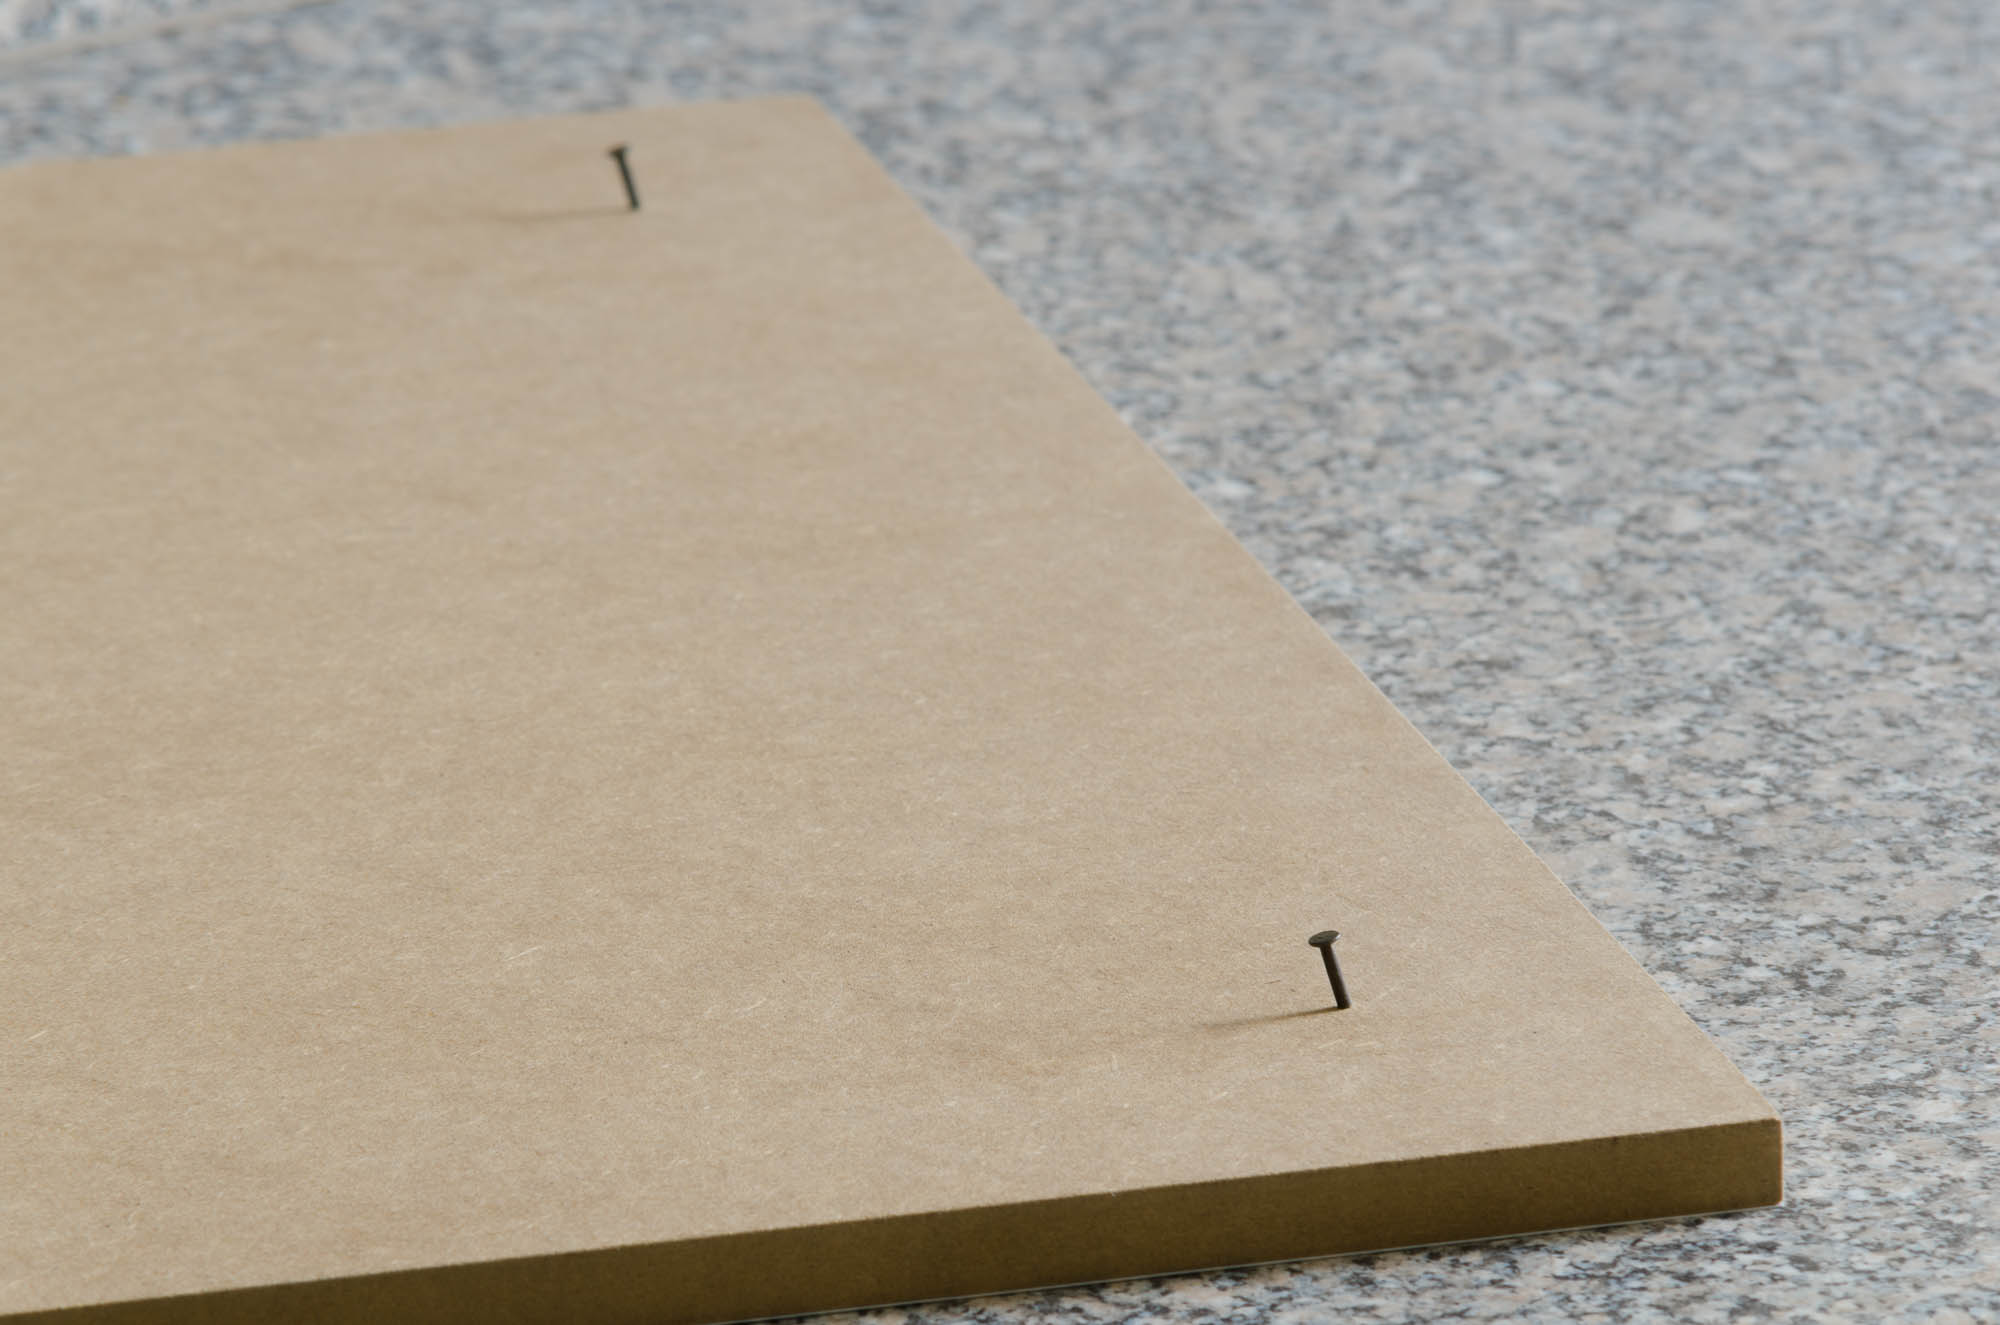
If you use a gallery system (with a rail at the top of the wall and hooks hanging from it – recommended), you can just put two nails (slighty tilted down) in the back side. Every nail will take one hook, and the hooks themselves disappear completely behind the picture. The hanging pictures will have a slight angle, which looks very pleasing.
As the last alternative, you can put screw eyes on the top edge. Just be sure to clamp the board and pre-drill, because the MDF splinters very easily.